Tuesday, 16 April 2019

Chain of Command - Third AND FINAL Trial Game

We did another hour and half walk through of CoC this fortnight and used the same forces as the last game but swapped sides!

Plucky Brits advance in the face of nasty Spandau fire!

The Forces;

The British
An 1939 Platoon with a base morale of 9
With an extra Section
With a Sniper Team
With a Mk VIb tank

The Germans
A First Wave Platoon with a base morale of 8
With an ATR Team

This game ran much quicker than our previous ones. We didn't encounter any major play stopping issues and consulted the rule book far less! Still the 6 page QRS (an oxymoron surely) is a bit much but we consulted that less too! 

With small changes to the OOB's and terrain this time it all boiled down to a race for buildings, be they complete or ruined. At the end of our time the Jerries were in the box seat played well their section can generate a lot of firepower!.

Below are some pictures of the action...

 The Germans were quick off the mark as both sides made the Chateaux their main objective!

Seeing the stand off at the Chateaux the Brits deployed two sections on their right flank while their Mk VI tank covered their left...

Ordered to hammer a British unit with HE the German Light Mortar Team rolled a double 1 for its first action...DOH, they became riflemen for the rest of the game!

The British dash to occupy the Chateaux failed, the Jerries were at the doorway and windows of the rear wall already!

 A stand off, just over 4 inches apart a British and a German section face off and they blazed away at each other literally scared to be the attacker in a close combat situation!

More Germans deployed to flank the British section behind the Chateaux!

 Five of a kind!!!! You don't see that often...some wasted 3's there (pity two 3's can't be added together to make a 6 hehe)!

The British light mortar strikes again, a German section which moved into a good flanking position suddenly found their LoS blocked!

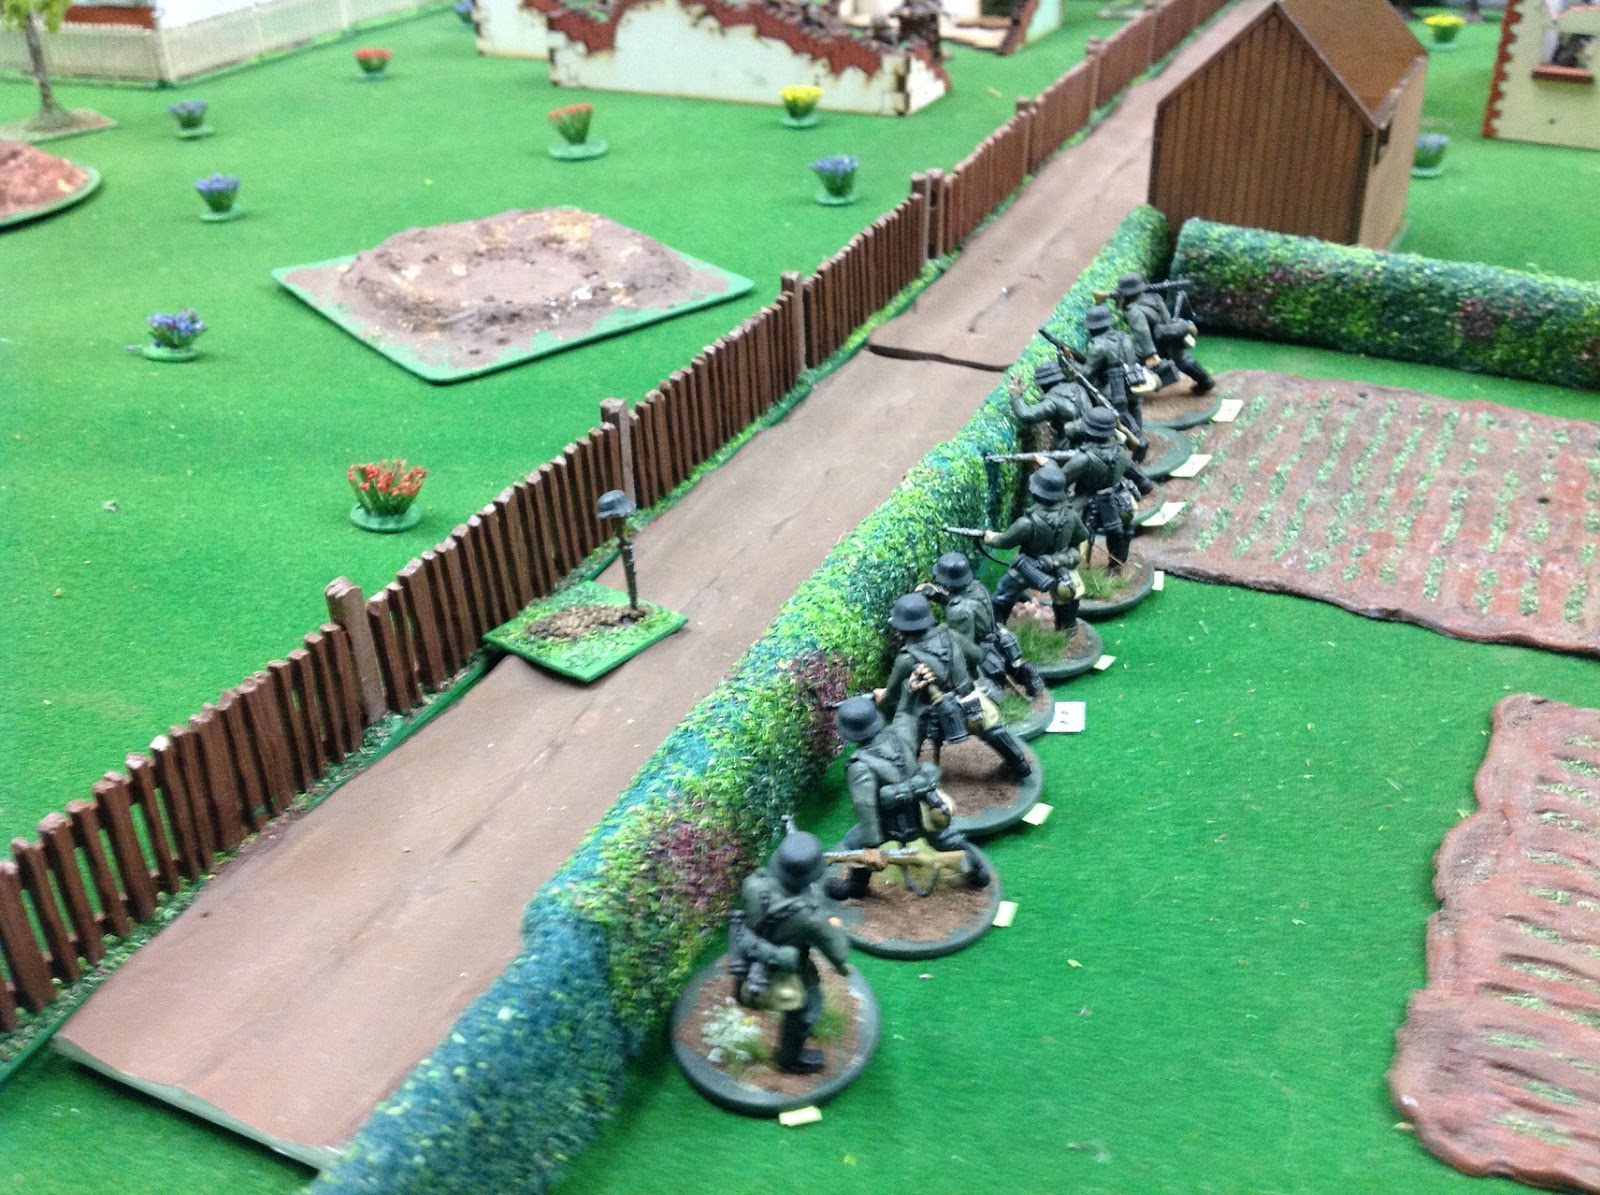
The Germans extend their right to ensure their flank is not turned, leaving their MG 34 Team in the building ruins the Riflemen make a dash to the hedge...

The Brits do their best to try and flank the German left!

 "Ahh Schiesen!", while trying to move clear of the British smoke to get a clear shot men of a German LMG team are caught just short of cover by a low movement roll, they were promptly shot to bits by the British section in the distance of the picture...

 The mighty British Mk VI rolls effortlessly onto the battlefield, it duked it out with the German ATR team and saw them off. After that it remained stationary on the British left flank but in doing so tied down the best part of two German sections!

It was here we stopped for the night to discuss the rules! A much easier discussion than after our other two run trial games. Having clarified our queries from the other games using the Lardies CoC Discussion Forum we found everything made more sense!

Next time is a full on game!

Sunday, 7 April 2019

1/56 Armourfest - a Panzer 38(t) & a Renault R35

I still building up my France 1940 CoC forces and because I got a discount voucher with free shipping from Warlord I promptly placed an order. Picked out the Panzer 38(t) (included decals and hit markers), the Renault R35 (it too had decals and hit markers), an early war German 75mm IG and crew and a French Hotchkiss MG Team. The order arrived promptly ans was well packed.

Just looking at the two tanks on this post and I can say we cover the two extremes of the spectrum with them!

The Pz 38(t) is a beautiful injection mould kit. It is cleverly designed and assembly is a breeze. The design allows you to glue 'tab areas' of almost every part meaning no oozing glue on the kits exterior. In many circumstances parts will only fit one way so you can't balls anything up (good for me!).

I choose to button my vehicle up with early war optional part options. I deviated from the instructions in that I did not add the tracks to the drive train until after I had painted everything, this allowed to to paint the hull, the two sets of wheels and the track separately and then I assembled all these parts after giving a good paint finish! The paint scheme is the early war one, panzer grey with brown camouflage applied (I airbrushed the base coat and hand painted the rest, I omitted painting the tyres for gaming I find that acceptable and one day I'll apply some weathering to the vehicle which will cover this anyway). I used a minimum of decals (I still say transfers!). This is one cool bit of kit!

My only complaint is the kit is almost too good for gaming there are quite a few fine bits of detail just waiting to get broken off!

Can't wait to get this one into action!


Now to the Renault R35 which I have base coated but not finished yet. This is a resin and metal kit and its nice that a crewman was included. I selected this vehicle as with the Pz 38(t) it came with decals and hit markers. The decals will be especially useful as I have a couple of Mad Bob Miniatures vehicles they will come in handy for.

Overall the R35 will look good on the war game table top but the resin casts are pretty rough looking and when rested together the running gear assemblies have an odd looking inward camber, I'll have to research this and may need to add a couple of shims in when assembling to straighten this up. A set of decals are included but without any details on how they should be applied and there is no painting instructions either, thank heavens for Mr Google!

The R35 awaiting completion...

Next I'll write up our CoC game from last Monday night and tomorrow night (breaking our fortnightly rule for once) we are getting together again for yet more CoC, we want to really get these rules clear in our minds before going to something else!

Wednesday, 27 March 2019

Pacific Theatre of Operations WW II 1/72 Japanese

Dave wants to play some WW II PTO games with the USMC vs Japs in 1/72 scale (same as his North Africa games) so I volunteered to supply some Japanese forces as I still have from the 1970's three boxes of Airfix Japanese infantry and a Chi Ha tank!

So I tested my painting with a few infantry and please note I don't like these old flexible Airfix figures as paint never stays on them!

We'll also need some Jap ATG's, HMG's and Artillery but I don't have any of this stuff and I'm on a budget so I figure I could build some diorama bases to represent them!

Anyway here is a sample of a Japanese ATG without actually having one or a crew supported by some infantry in thick jungle...
....of course in game terms if we want to represent an ATG in a non-emplaced situation we'll just have to note it!

The mini diorama is made on a low budget with twigs, styrene sheet, a coat hanger and some basing bits!

The basic wooden bunker built with twigs...

the coat hanger gun barrel added...

...and the barrel even swivels!


The completed  thing...


Now I need to build a second one of these, 2 HMG emplacements and a dug in artillery gun!

If we need anymore Jap tanks I hope someone else will front up as my budget is now focused on 6mm Napoleonics, 10mm ACW and 28mm WW II!

Tuesday, 19 March 2019

Chain of Command - Second Trial Game

Well take two of Chain of Command! This time we tried the Patrol Scenario with 1940 Brits and Germans. We put a one and a half hour time limit on the test so we'd have time for a coffee and discussion on the rules.

Lt Bruce urging the Mortar Team boys on!


The British (Jock Column Copley) OOB included the Early Platoon with a base morale of 9 and were supported with an extra Section, a Sniper Team and a Mk VI tank. The Germans (Gruppe Neudegg) OOB featured a First Wave Platoon with a base morale of 8 and it had an ATR Team support.

Both sides used 4 markers in the Patrol Phase and the Jump Off Points looked to be slightly in favour of the Brits in the end.

With their higher morale the Brits kicked of and deployed a Senior Leader, a couple of Sections and their Mortar Team quickly, they tried to secure the central building ruins occupying two out of the three but they were only a stones throw from the last one when play turned over to the the Germans. The British scored a double 6 on their very first Command Dice roll which helped their advance, this was the only double 6 we got for the night!


Sergeant Smith's Section secure the ruins closest to the German's JOP hampering their deployment they can be seen cowering behind a nearby fence!


Corporal George's section fall just short of the crucial third set of ruins, this was telling giving the Germans the chance to occupy it!

The Germans initial roll was good allowing them to deploy two Sections and their Mortar Team, they we able to cover their left flank and occupy part of the ruined hamlet.


The Jerries turn the last unoccupied ruin into a veritable fortress with a full strength Section, Corporal George's riflemen look distinctly 'out on a limb' behind a couple of shrubs!


At this point Corporal Spencer's Section deployed and tried to turn the German's left. However the crafty German commander deployed his last section in this area and a poor movement/fire roll by Spencer's Bren Team left their Rifle Team in the lurch. Three out of four riflemen in that Team were mown down by the Germans and the last private fled with multiple shock!


Disaster for Spencer's Section the riflemen did their bit and reached the hedge behind the Germans but the Bren crew, requiring anything but 1 on their movement die roll of course got a 1 so were not able reach the hedge to give the rest of their Section any covering fire for a turn!

The Germans fan out and hose the isolated British riflemen


With their right hook stymied and the Mortar Team working furiously trying to cover the forward infantry with smoke to cover them from withering Spandau fire the British played their trump card the MK VI tank!

The mighty Mk VI trundles into action...

Combined fire from the Mk VI and Smith's Section killed the German flank Section's Junior Leader and forced them to retire out of the British LOS. Actually Sergeant Smith's men did the job, the Mk VI with eight dice hitting on 5 and 6's failed to get a single hit!!!


The leaderless German left Section fall back into cover, their JOP is now beyond the German front line!


The Germans used their CoC Dice at this point and their ATR Team 'ambushed' the Mk VI, they hit it forcing it to retire with shock they then scurried back into cover (this is the sort of thing you expect from dastardly Germans!).


At this point we called the game so we had time to review how we went. As it stood either side could have eventually won.

The tabletop when we stopped play, the Germans are to the left and the Brits to the right...

It was an entertaining evening, the CoC rules give players many command challenges and the only issue we encountered was working out some of the spotting rules (welcome Mr Google!). These rules reward coordinating Sections and Teams so gave us a real feel of fire and movement tactics. We also determined Close Combat should not be employed unless against a weak and highly shocked opponent! The only place we 'blew it' with the rules on the night was regarding leader casualties, we just killed two Junior Leaders when hit instead of going to the casualty table (as it was one a side it balanced out haha!). We will go for a full game next time we use CoC as we are confident with it now and hopefully that will be soon as my 1940 French Platoon and support are coming together nicely!

Wednesday, 6 March 2019

X-Wing - A Daring Escape


Daggs Starlifter watched nervously as the senator’s shuttle lumbered away from the battle. The Corellian vessel was as tough as they get, but slow as a three-legged nerf and couldn’t defend itself against a tad-moth. A single snub fighter to protect Her Ladyship was never going to be enough, but Daggs was all that was left after the Empire ambushed the senator’s corvette. Slipping unnoticed away from the battlefield's wreckage seems like a slim hope, but it was better than none at all.

A warning light started blinking on the long range scanner and the astromech decoded it as two Tie fighters approaching dead on. Powering up the X-Wing’s S-Foils, Daggs accelerated to attack speed and radioed the pilot of the shuttle to stay as close as possible and undertake evasive manoeuvres. This was going to be a tough fight.

Monday night’s game saw a single X-Wing defend a heavily shielded shuttle carrying Senator Camilla against two Tie fighters. For the Rebels to win, the shuttle had to exit the opposite side of the table. The Empire must not let the senator escape alive.

We played two games and swapped the role of the Rebels for the second game. Game one saw Al playing the rebels and Dave and Pete each took a Tie fighter. Charging at full speed towards their quarry, the Ties quickly closed to within range, deciding to try and take out the X-Wing first. Jinking to the left, the X-Wing took a burst of fire to its starboard side but the shields held and no damage was done. The shuttle powered on steadily into the midst of the approaching fighters, relying on its shields to buy it enough breathing space to escape.


It wasn’t long before the Tie pilots realised that the X-Wing was a tough beast and wasn’t going to go down quickly so they turned their attention to the shuttle. Shot after shot hit the ship, gradually whittling down its shields. But the X-Wing was hammering at the attackers as well to try to keep them at bay. With limited mobility and a lumbering gait the shuttle inched close to safety until just before it reached its objective – with all of its shields gone and its hull almost breached, the X-Wing scored a direct hit on one of the Ties and the shuttle was home free.

A narrow victory for the Rebels.

Game two saw much the same result with Dave as the Rebel pilot, but this time the Empire decided to focus all of their attacks on the shuttle and ignore the X-Wing. This meant that the X-Wing could manoeuvre without any real regard to drawing fire from the Ties, but the close quarters of the combat meant that ships were bumping into each other.

A second victory for the Rebels, with less damage done to the shuttle, but both Ties intact at the end of the game.

Fun for all, with lots of cheesy sound effects and some truly dreadful puns.