Well take two of Chain of Command! This time we tried the Patrol Scenario with 1940 Brits and Germans. We put a one and a half hour time limit on the test so we'd have time for a coffee and discussion on the rules.
Lt Bruce urging the Mortar Team boys on!
The British (Jock Column Copley) OOB included the Early Platoon with a base morale of 9 and were supported with an extra Section, a Sniper Team and a Mk VI tank. The Germans (Gruppe Neudegg) OOB featured a First Wave Platoon with a base morale of 8 and it had an ATR Team support.
Both sides used 4 markers in the Patrol Phase and the Jump Off Points looked to be slightly in favour of the Brits in the end.
With their higher morale the Brits kicked of and deployed a Senior Leader, a couple of Sections and their Mortar Team quickly, they tried to secure the central building ruins occupying two out of the three but they were only a stones throw from the last one when play turned over to the the Germans. The British scored a double 6 on their very first Command Dice roll which helped their advance, this was the only double 6 we got for the night!
Sergeant Smith's Section secure the ruins closest to the German's JOP hampering their deployment they can be seen cowering behind a nearby fence!
Corporal George's section fall just short of the crucial third set of ruins, this was telling giving the Germans the chance to occupy it!
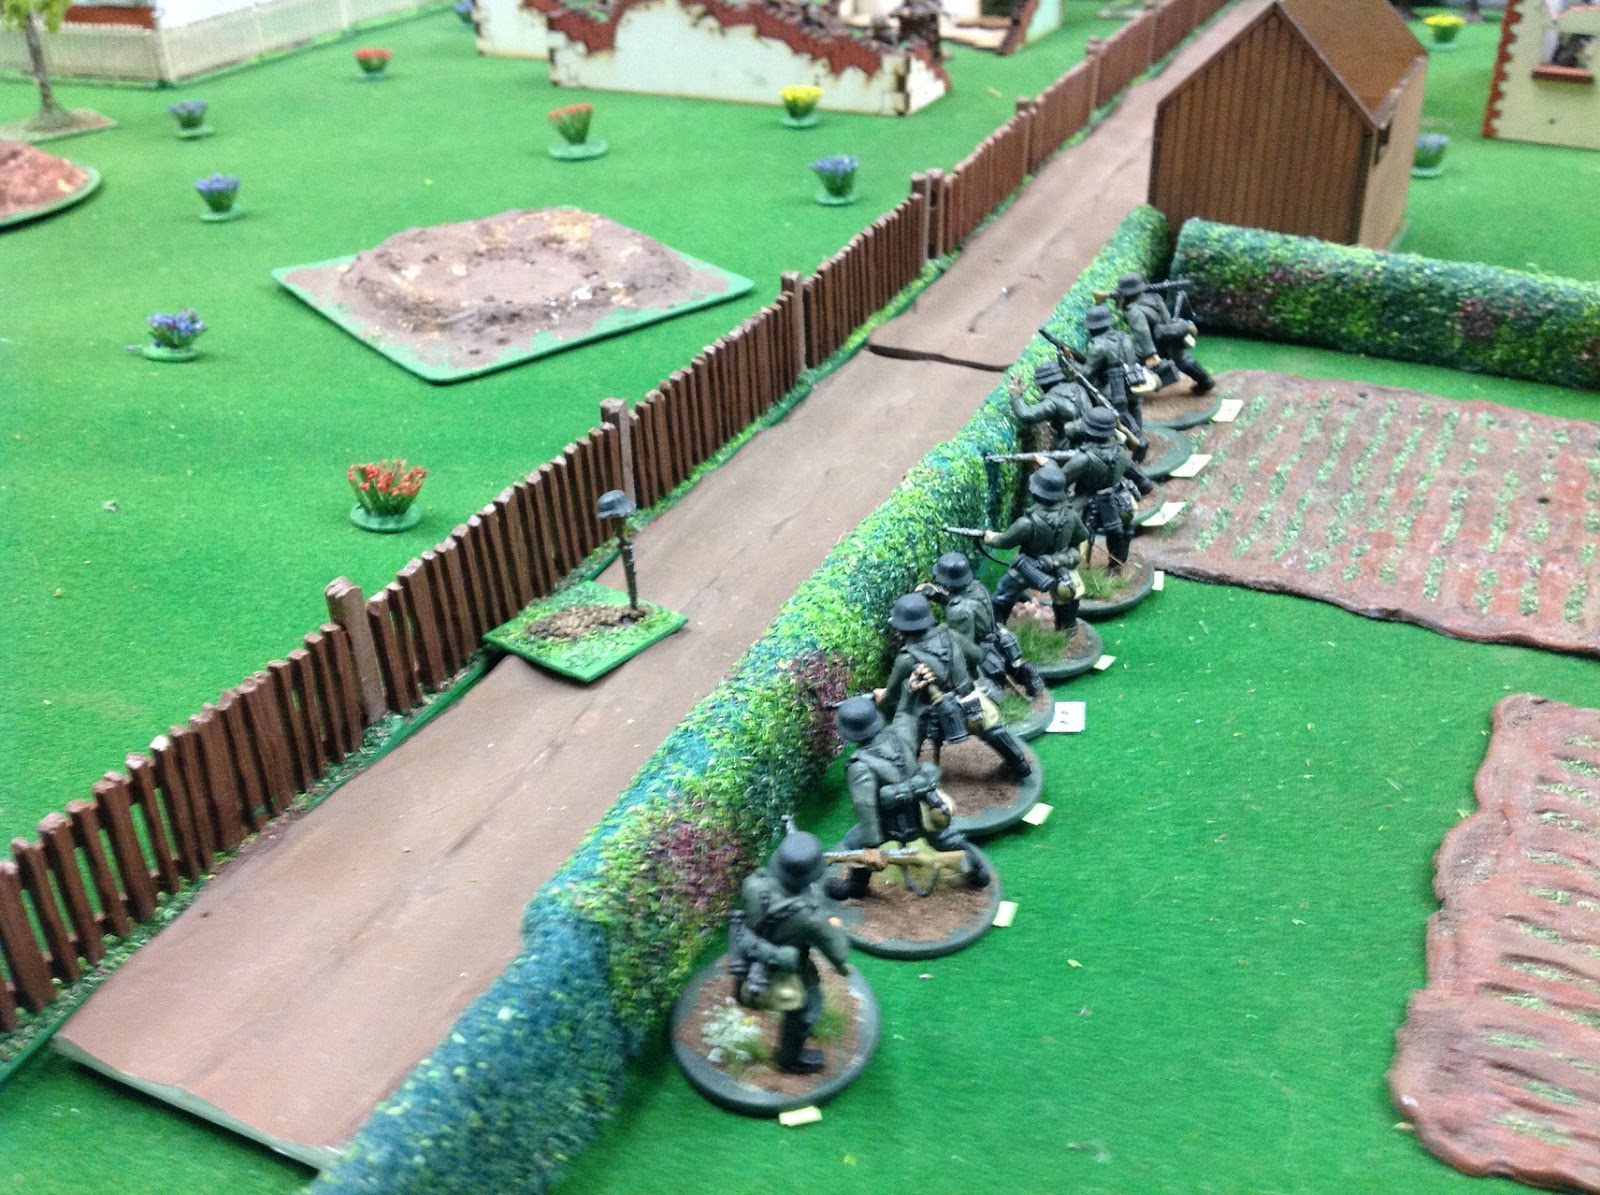
The Germans initial roll was good allowing them to deploy two Sections and their Mortar Team, they we able to cover their left flank and occupy part of the ruined hamlet.
The Jerries turn the last unoccupied ruin into a veritable fortress with a full strength Section, Corporal George's riflemen look distinctly 'out on a limb' behind a couple of shrubs!
At this point Corporal Spencer's Section deployed and tried to turn the German's left. However the crafty German commander deployed his last section in this area and a poor movement/fire roll by Spencer's Bren Team left their Rifle Team in the lurch. Three out of four riflemen in that Team were mown down by the Germans and the last private fled with multiple shock!
Disaster for Spencer's Section the riflemen did their bit and reached the hedge behind the Germans but the Bren crew, requiring anything but 1 on their movement die roll of course got a 1 so were not able reach the hedge to give the rest of their Section any covering fire for a turn!
The Germans fan out and hose the isolated British riflemen
With their right hook stymied and the Mortar Team working furiously trying to cover the forward infantry with smoke to cover them from withering Spandau fire the British played their trump card the MK VI tank!
The mighty Mk VI trundles into action...
Combined fire from the Mk VI and Smith's Section killed the German flank Section's Junior Leader and forced them to retire out of the British LOS. Actually Sergeant Smith's men did the job, the Mk VI with eight dice hitting on 5 and 6's failed to get a single hit!!!
The leaderless German left Section fall back into cover, their JOP is now beyond the German front line!
The Germans used their CoC Dice at this point and their ATR Team 'ambushed' the Mk VI, they hit it forcing it to retire with shock they then scurried back into cover (this is the sort of thing you expect from dastardly Germans!).
At this point we called the game so we had time to review how we went. As it stood either side could have eventually won.
The tabletop when we stopped play, the Germans are to the left and the Brits to the right...
It was an entertaining evening, the CoC rules give players many command challenges and the only issue we encountered was working out some of the spotting rules (welcome Mr Google!). These rules reward coordinating Sections and Teams so gave us a real feel of fire and movement tactics. We also determined Close Combat should not be employed unless against a weak and highly shocked opponent! The only place we 'blew it' with the rules on the night was regarding leader casualties, we just killed two Junior Leaders when hit instead of going to the casualty table (as it was one a side it balanced out haha!). We will go for a full game next time we use CoC as we are confident with it now and hopefully that will be soon as my 1940 French Platoon and support are coming together nicely!