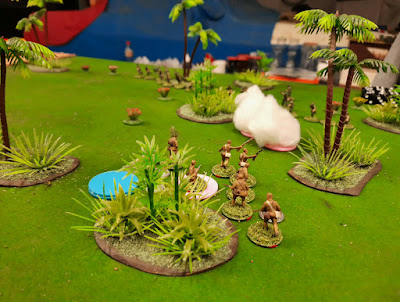
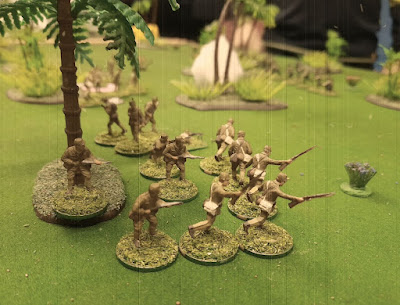
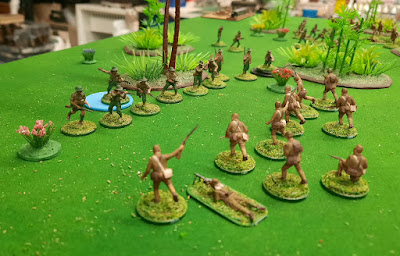
Showing posts with label Chain of Command. Show all posts

Sunday, 25 June 2023

CoC AAR - PTO Tulagi Beach Blue 1942

2nd of May Dave hosted a CoC PTO game for us, turning over to Dave...

The first US offensive in the Pacific was in August 1942 in the Solomon Islands and the initial landings were on Tulagi, the administrative centre of the island  chain. Tulagi is a small island north of Guadalcanal, nestled below the larger Florida Island. Unlike the landings on Guadalcanal, which met no initial resistance, Tulagi was contested strongly by Special Naval Landing Force (SNLF) troops of the IJN. The USMC landing force under Merrit Edson consisted of  Carlson's Raider Battalion and 5th Battalion of 2nd Marine Regiment. 


This Chain of Command (CoC) game focussed on a platoon of 5/2 landing on Beach Blue on the mid-southern edge of the island and probing inland, heading towards ridge in the centre of Tulagi in their drive to capture the NW end of the NW-SE oriented island. As a probe scenario, the USMC needed to exit one team from the far end of the board for victory. 

The extra points available to the sides were spent by the SNLF on entrenchments and barbed wire. The USMC 5/2 added a .30 cal LMG and 60cm medium mortar teams. Both sides rolled high on morale to start on 11. The patrol phase developed into the SNLF moving as far forward as possible with three Jump Off Points (JOPs) evenly across the board in the jungle and the 5/2 deploying three JOPs, two on the left flank either side of the cemetery and the other on the far right flank on the edge of the golf course. The nature of the jungle cover meant that JOPs could be deployed at only 6" back from patrol markers so the opposing JOPs were relatively close compared with open terrain.

The USMC landing didn't open well with confusion allowing only one squad and the Sarge landing on the left flank and moving to the edge of the jungle from the cemetery. The SNLF began rapidly deploying units from the JOPs and an attack was immediately mounted on their right flank against the recently landed USMC squad. The units didn't get to hand-to-hand but settled into a prolonged firefight at close range. 

Some of the less than well coordinated USMC landings may be attributed to Major Clarence E Pitts taking personal command of the landings. The SNLF rapidly established their whole platoon well forward and began to infiltrate towards the beach before the full USMC platoon was ashore. Most of the USMC strength consisting the three rifle quads and one BAR squad were deployed on the left flank around the cemetery as it seemed like a good idea at the time. Another firefight developed at medium range near the centre between several squads. To ensure the right flank JOP would not be overrun, the mortar and LMG teams were deployed from there to the nearby golf course. This turned out to be a problem later due to the intervening jungle between them and the rest of the platoon on the right flank, so they were not mutually supporting.

The firefight in the centre was going against the 5/2, due to some units being in lighter cover in the cemetery compared with SNLF, and some lousy shooting manifested by lousy rolling. The firefight at close range on the 5/2 left and SNLF right was swinging towards the USMC due to the high number of SMGs in the squad and most of its members growing up on Jimmy Cagney movies in the 1930s "Take that you doity rats...dakadaka...daka". A counter-battery duel developed on the SE side between the SNLF type 89 grenade launcher squad and the USMC mortar and LMG teams from the edge of the golf course. 

In the centre the 5/2 BAR team moved obliquely onto an exposed small hill in what seemed like a sensible flanking move by Corporal 'Machine Gun' Kelly. However the firepower of SNLF quads soon reduced the squad to just Kelly and two comrades who yelled 'Semper Fi you SoBs!' and headed inland into the jungle with shots whizzing at their heels. A fierce hand-to-hand struggle depleted another USMC squad, who retreated towards the cemetery. On the NW edge, Mr Thomsons inventions deadly effectiveness at short range had wiped out most of the opposing SNLF and the jarheads began to advance.  SNLF Lt Imashita and his trusty flag bearer were not too far behind this squad, and suddenly felt exposed as an enemy squad approached from their right and Cpl Kelly chomping his cigar from the left, so they hotfooted it inland up the ridge.  

The USMC had taken very heavy losses in the centre and the remaining squads began moving towards the breakthrough on the left, concentrating almost the entire platoon infantry strength along the left flank. Just them Clarence E Pitts rolled the statistically improbable five 6s initiating a random event. This was an errant indirect fire barrage, courtesy of a USN destroyer sailing close to shore, onto the left flank affecting only one SNLF squad but all of the USMC infantry. Amazingly, minimal casualties were suffered by all thanks to USN gunnery. 

The USMC got lucky with many 6s on command dice, resulting in extra moves, and the advance on the left surged forward. As the USMC centre was now open the SNLF sensed a way to split the landing force, the aim of every Japanese island defence by driving straight for the beach across the golf course. Nor being distracted by the imperialist game of golf, they swung right towards the left flanks of the hapless LMG and mortar teams who were engaged in the firefight with the SNLF grenade launchers and infantry up the hill. The USMC support weapon teams were easily overrun and the SE end of Beach Blue was in SNLF hands. Meanwhile on the NW end inland up the hill, Lt Imashita had managed to outrun Machine Gun Kelly and join up with one of his squads to direct fire into the flanks of the USMC advancing inland. 

The USMC had suffered so many casualties on both flanks, but particularly the support teams on the gold course, that their morale was lowered considerably, and they lost a command dice. The advance began to falter but one mauled squad reached the far side of the board up the hill and victory was achieved. But at what cost? Pyrrhic indeed. For a probe to assess enemy strength for a following multi-company assault, it stirred up a hornets nest and lost most of the platoon. The SNLF held most of Beach Blue making follow on landings difficult. The USN destroyer captain received the Navy Cross, Maj Pitts was  given commendations, posted to the Rangers training for Europe and then posted to the UK near the town of Studley Constable in Norfolk. Lt Imashita received a personal commendation from Admiral Yamamoto but him and all of his men were overwhelmed by US firepower in the next two days. 

Overall this showed how precarious these beach landings could be if the defender skilfully defended forward with aggressive moves to the beach to divide the landing force, something that was not achieved in reality in the Pacific. 

First contact, SNLF troops bravely attack the invaders for the Emperor!

They also deploy on the flank of the first USMC troops...

US automatic fire starts to take its toll on the island's defenders!

Marine BAR teams deploy to cover the advance on the Yanks left flank, they suffered heavy loses but did their job!

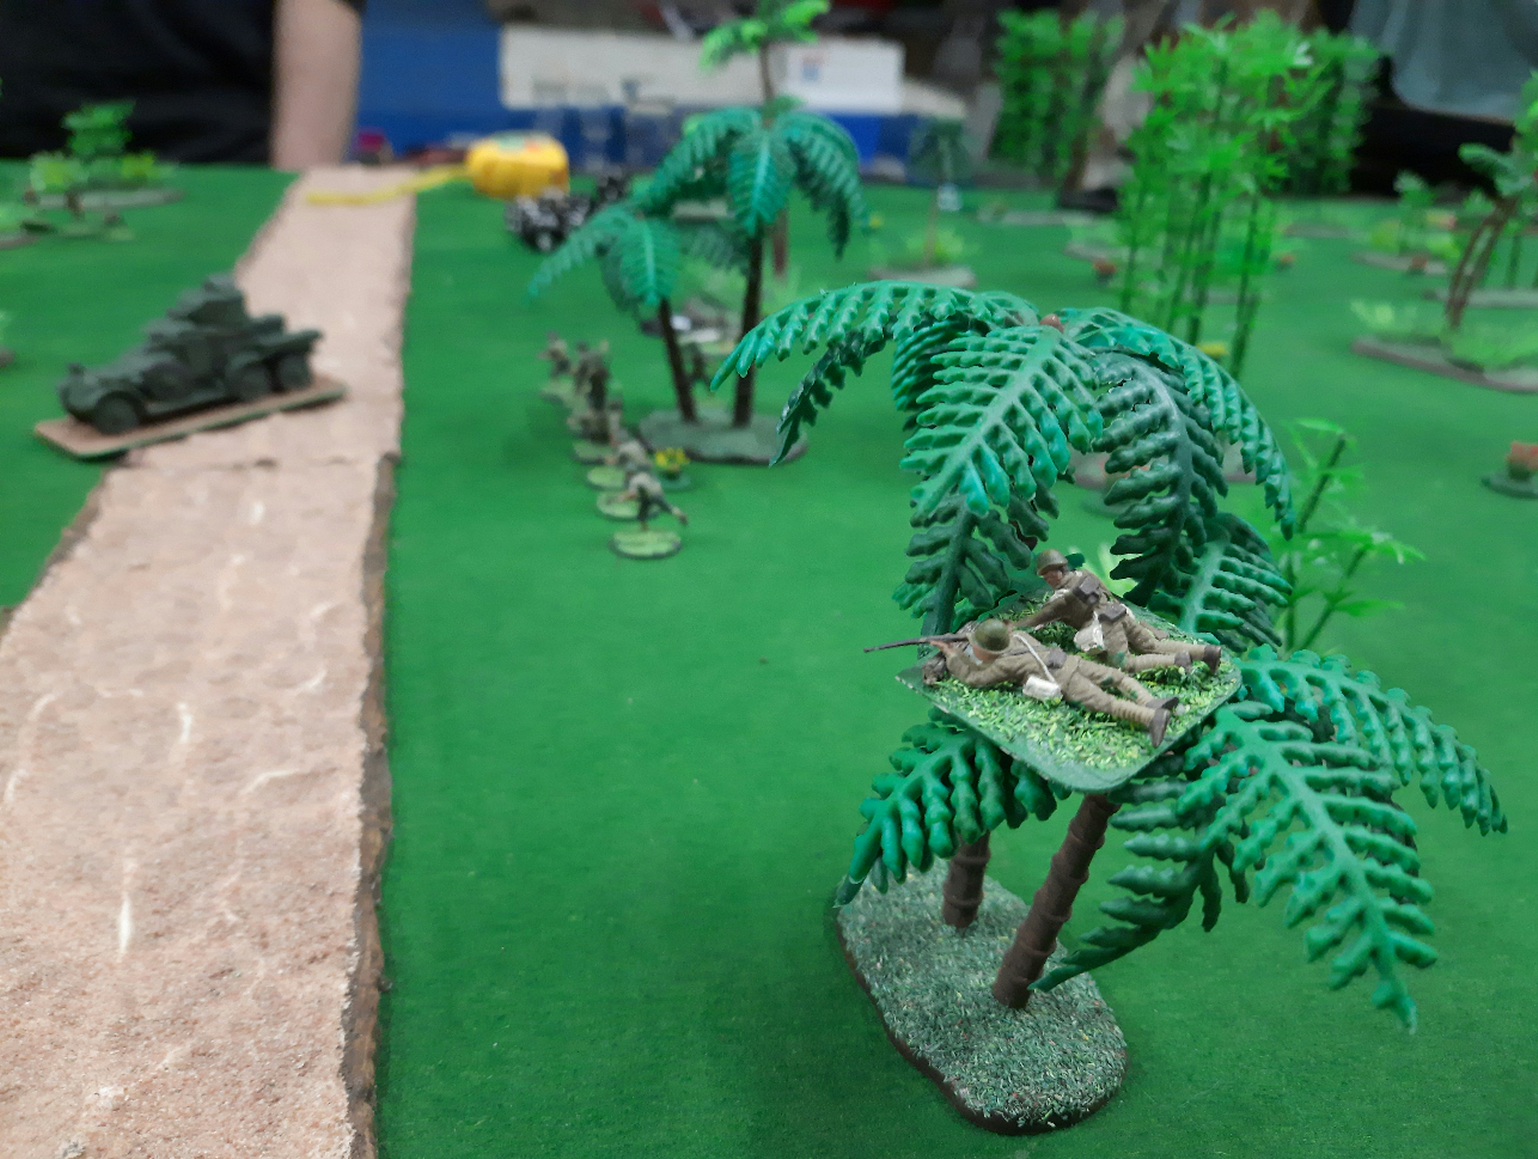
The beachhead!

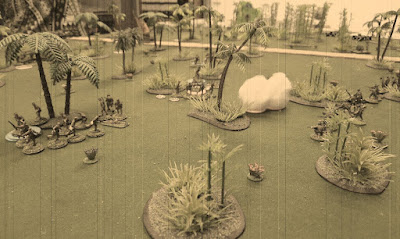
Yank view of the very nice terrain!

The Marines hammer the Japs, but the resilient SNLF troops just soak up the losses and return fire! This is not good for the SNLF but they buy time with lives while they attempt to redeploy!

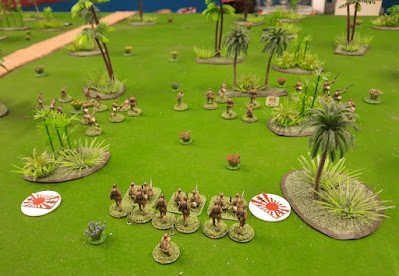
View from the Jap perspective as more and more Marines well equiped with automatic weapons appear on the edge of the jungle!

The Marines deploy all their resources save their MG and Mortar team on their right flank, The Jap Commander is concerned!

But the Japanese surprise the USMC attackers and attack themselves they quickly capture an American Jump of Point! After initial firefights the battle now starts to become mobile!

SNLF Lt Imashita and his standard bearer put some distance between themselves and Marine Sergeant Machine Gun Kelly who can be made out in the background, note the Lieutenant's report back to his superiors described this movement as a ‘redeployment to more favourable ground' rather than a case of fleeing for their lives!

Despite their success in the centre and on their left the Japanese right flank crumbles, in a firefight against the well armed USMC the SNLF struggled and then succumbed!

The Marines 30 Cal MG Team keep up fire despite a hail of knee mortar bombs landing all around and ON them!

Then 5 sixes were rolled by the USMC player an EVENT, first time we have had this in CoC...

...turned out to be a barrage which targeted mainly their own troops! Turned out to be a fizzer with little effect...good overall picture sows the USMC about o capture a Japanese Jump of Point and turn their right flank!

Japanese rampant behind the USMC lines...bravely the Marines commander pushes on for their objective rather than be distracted!

The SNLF overruns the Marines Mortar support...

...and the a second Marine Jump off Point, the Yanks morale is teetering...

US Morale is further tested as the Japs take out the 30 Cal MG Team but still they hang in!

Japs occupy the beach after destroying the Marine support elements!

Yanks successful, a Marine squad prepares to exit the tabletop!

Catch ya next time!

Saturday, 4 March 2023

Patton Heads East! Chain of Command AAR

We decided to trot out Chain of Command last Monday night! For something different we pitted Yanks against Reds in August 1945!

The scenario was played was the Take an Objective with the Yanks on the attack. Al commanded the forces of good and Dave the minions of evil, I umpired. The Americans objective was the east end of the bridge.

The force were straight from the original ruleset, the Americans had a 30 Cal and Sherman in support and the Soviets a T-34 76 and a Maxim, even though the Americans had a lot of firepower and a bit of cover it looked a tough task. The initial morale rules didn't favour the Allies with the Americans getting a moral rating of 8 and the Soviets 10!

We went through the Patrol phase which was pretty good for the Americans, the Soviets were brave placing a JOP on the 'wrong' side of the river!

The Americans watch anxiously late in the game as the Reds Tank advances for a final attack!

The Action!

The Americans started, their dice allowed them to place their 30 Cal in shell holes in the woods on their left, a Squad deployed into the shell holes on their right and a Sherman trundled onboard along the road. The Soviets rolled well, two Sections deployed in the ruins as well as their Maxim team and their tank arrived to support them immediately it looked like the Yanks were in for a hard time!

The American Captain stayed cool, his 30 Cal hosed the Maxim and two Squads advanced either side of the road leap frogging from cover to cover the Sherman advanced firing on the Maxim, the Infantry in the buildings and the the T-34 every time it poked its nose over the brow of the bridge, Soviet casualties climbed as their Maxim crew was wiped out and their other infantry were under continual fire, chances of Heroes of the Soviet Union being declared declined substantially!

late in the game the T-34 crew finally took on the Sherman both sides tanks scored hits but neither side got an advantage in the damage phase of shooting and twice the T-34 withdrew back over the bridge once almost crushing its supporting infantry!

At this point the night was late and Lieutenant Harrison threw his bazooka man forward in a heroic attempt to destroy the pesky T-34 and in a final throw of the dice Private Hanks evaded defensive fire successfully but was unable to hit the Red Beast!

We had to call proceeding before the game was resolved but with one of the Soviet JOP about to be captured and the Yanks firepower starting to tell we called it as an American victory!

The Pictures!

How the action developed, the green arrows follow American movement and the red the Soviet moves, the yellow bursts are where each side concentrated their firepower. The cover of the towns outskirts and shell holes helped the Americans in this instance...

The initial Yank deployment their 30 Cal set up to cover the advance under instruction from their Platoon 2IC.

View of action from the Soviet point of view!

Gallant Soviet infantry milling behind their tank, at one point it almost ran them over as it reversed away from the Western Imperialists!

Americans unload on the Reds, the advantage of an American Platoons Mad Minute Firepower was telling!

Private Hanks tries to single handedly destroy the Red Beast covering the bridge!

A final turn lunge by Soviet Tank Commander Ivan Neudegg failed to hit the Sherman!

Our battlefield from the Americans point of view this picture was taken at the end of the action...

Our thoughts!

Well as usual we enjoyed the CoC rules! Everyone was happy how the 'battle' developed both Dave and Al enjoying the night which is the main thing! Unfortunately at the end of the evening we as usual with CoC we had not completed the game but in this instance at least we could see where things were headed! CoC frustrates us (as usual) with infantry movement rates the Yanks infantry could just not move fast enough to cross the tabletop in a timely manner, given another hour or two they would barring a big change of events snagged a win but most of us needed to work in the morning! Is it just us plagued with Sections/Squads creeping forward at 3 inches a turn when rolling two dice or do others out there have the same issue? We are thinking of tweaking infantry movement next time!
Sunday, 8 May 2022

Chain of Command - Malaya 1942 Mini Campaign - Game 3 AAR

Aussie Infantry support a mighty Lanchester Armoured Car manned by the SSVF...

Game three of our Malaya 1942 Campaign is done and dusted! As the Japs were stymied last time it is a replay of that scenario but slightly further down the road, so again we are playing a Probe game.

Updated Leader names...
Aussie Platoon HQ, Lieutenant Graham Witherspoon, Sergeant Barry Griswald
Section 1, Sergeant McCarthy
Section 2, Sergeant Thompson
Section 3, Sergeant Bruce Ingliss

Japanese Platoon HQ, Rikugun Mitsubishi, Gunso Toyota
Section 1, Gucho Daihatsu
Section 2, Gucho Suzuki
Section 3, Gucho Isuzu
Mortar Section, Gunso Shitmee
Sniper, Jōtōhei Sanyo

Revised Australian End of Game 2 Process
Aussie after Game Stuff
Section 1: 4 Casualties
Section 3: Sergeant Wounded 5 Casualties
Total 9 Casualties
6 Return due to Force Morale Difference
1 returns next Game
1 returns next Game from Game 1
1 misses next Game
1 Killed
Total reduction of 1 figure for the next game!

Game 3 'Probe' Scenario

Aussie Forces
Core Platoon (less five casualties)
Lanchester Armoured car

Jap Forces
Core Platoon (New)
MMG Team
Sniper Team

The Battlefield

Lots of jungle on this battlefield, beside the main road heading north to south there are two areas of wild bamboo to the west of it and one area of open ground to its east...
Force actions/movements are shown, the Australians in Blue and the Japanese in Yellow...

Map Legend

The AAR

The jungle road and its surrounds where still and quiet as Lieutenant Witherspoon consulted his section leaders as he expected another Japanese attack. He proceeded to address them detailing his plans. Half way through his briefing a shrill whistle pierced the serene jungle and all hell broke loose, the wildlife scattered and the air was filled with shooting and shouts in Japanese! Sergeant Griswald coolly commented to his Lieutenant, "Briefing over then Sir?
The Japanese Officer, Rikugun Mitsubishi had launched an attack on the Aussie position to the east of the road to Singapore with his full strength, after being beaten previously honour demanded he defeat these Australians!
Two Jap sections deployed either side of a clearing in the jungle and advanced on the two Australian sections that had arrived to face them. A desultory firefight broke out a long range with little effect!
But Mitsubishi upped the ante setting ordering his mortar section into support and deploying Type 92 machinegun. His Number Two Gunso Toyota also arrived at this point with the last of the platoon's sections. He led an attempt to infiltrate the Australian left! Sergeant McCarthy's men on the extreme right of the Australian position noticed this and sent word to their CO!
Outnumbered the Australians held back awaiting more troops as the terrain was not favouring them in this engagement. They fell back out of the Japs line of sight, it was a waiting game for them!
The Japanese machinegun fire and mortar barrage hit McCarthy's men hard causing casualties and suppressing them while Gucho Daihatsu led his brave soldiers around their flank.
Desperate to retrieve the situation on their right the Australians launched a counter attack on the Japs right to distract them! The attacked was led by Witherspoon himself included Sergeant Ingliss's understrength section, the platoon's mortar team and a formidable Lanchester Armoured Car! This attack put great pressure on the Japs right and despite taking casualties Gucho Suzuki's men held firm under fire though!
At the height of the fire fight Japanese Sniper, Jōtōhei Sanyo coolly took a bead on an Australian he believed was in command of their flank attack, he took a deep breath steadied his weapon and gently squeezed the trigger...the shot missed, he cursed and then he lost sight of his enemy in the jungle! He settled to wait for another chance!
Irrespective of the pressure the Australian attack was having Rikugun Mitsubishi persisted with his own advance. On the Jap left covered effectively while the mortars and an MG Gucho Daihatsu and his men appeared to be on the verge of turning the enemy's flank! Lieutenant Witherspoon seeing his attack stalled and Japanese moving around McCarthy's position he decided the situation was lost and holding this position would only result in heavy losses he gave the order to withdraw, his men disengaged and withdrew southward.
Rikugun Mitsubishi cursed he was victorious but the Australians had again slipped away he ordered and immediate pursuit...BANZAI!

Some Pictures of the Action

Gucho Suzuki's section deploys during the opening phase on the Japanese right... 

McCarthy's men are the first Aussies into the action east of the Singapore Road they immediately went into Overwatch!

First movements from both sides, two Aussie sections deploy on the left of the picture whilst to the right Japanese can be seen, of note the Aussies have deployed out of sight of the Japs but in doing so have left two of their JOPs unguarded! 

The reserve Aussie section (understrength) arrive on the battlefield to engage the Jap right...

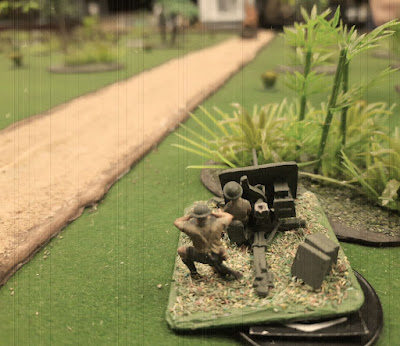
Aussie support arrives, a Lanchester of the SSVF!
In the picture to its right is Thompson's section they saw little action in this fight.

The Lanchester takes on 'defenceless' Jap infantry!
What's the Japanese for "Bugger Me!"?

And because its such a cool vehicle (OTP Model) here's the Lanchester again!

McCarthy's men were hit by MG & mortar fire reducing their effectiveness, in the background the cunning Japanese can be seen advancing take advantage of this!

Jap Sniper, Jōtōhei Sanyo takes a shot at the Aussies, clever figure placement by the Japanese player!

Gucho Daihatsu's troops make a dash for victory but a total victory is thwarted by the Australian Forces who withdraw!

Battlefield positions at games end from the southern (Australian) perspective.


Result Stuff
A Japanese Victory! An Australian Losing Draw!
Again the game ran smoothly, we had to look up the rules once checking on visibility from a buttoned vehicle! Again had time after the game to complete the Sharp End 'end of game' processes on the night!
We had to re-calculate the Aussie strength before starting because unlike Game 1 at the end of Game 2 the winning side had a six point Force Morale advantage so this greatly helped the Aussies who after the recount were only five men down a big difference to original nine (page 18 of the Sharp End)!
This game due to the lay of the land saw a lot less casualties on both sides five for the Japs and two for the Aussies and the 'end of game' process was decidedly in favour of the Aussies, Lieutenant Witherspoon looks like battalion Command material, whereas Rikugun Mitsubishi needs to take some charisma lessons!
Also this game included our first roll of four 6's! A Random Event! The Aussies rolled it and it resulted in another Jap section being automatically deployed where the Japanese player wanted!!!
Overall after this game Campaign wise the Japs are still on track for an overall win, pressure is on the Aussies! Next game will be in two or three sessions time.

Aussie after Game Stuff
Section 1: 2 Casualties
Total 2 Casualties
1 returns next Game
2 return from game 1
1 Killed
Total reduction +1 figure for the next game! An increase in strength Yeah!
For Campaign resolution:
CO Opinion Running Total = +4
+1 for Losing Draw Roll
OR Opinion Running Total = +3
+2 for Light losses than Japanese

Jap after Game Stuff
Sekushon 2: 5 Casualties
Total 5 Casualties!
2 returns next Game
1 misses the next Game then returns
2 Killed
Replacement Roll gives 3 extra men
Total reduction 0 figures for the next game! So full strength again!
For Campaign resolution:
CO Opinion Running Total = +1
+1 for Victory Roll
OR Opinion = -3
-1 for More losses than enemy Roll!
-2 for Heavy Losses Roll

Wednesday, 9 March 2022

Chain of Command - Malaya 1942 Mini Campaign - Game 2 AAR

Staged photograph taken after the action of Sergeant Peters with his 2 pounder ATG, in the background Gunso Tomato's burning Ha Go Tank can just be made out...

Game two of our Malaya 1942 Campaign completed! This session Al was 'on the ground' and joined the Aussie side 'for the duration'!

Core Platoon leader details, we have some of the names for our leaders now so here they are as they'll come up on AAR's!
Aussie Platoon HQ, Second Lieutenant Graham Witherspoon, Senior Sergeant Barry Griswald
Section 1, Sergeant McCarthy
Section 2, Sergeant Thompson
Section 3, Sergeant Bruce Ingliss

Japanese Platoon HQ, Rikugun Mitsubishi, Gunso Toyota
Section 1, Gucho TBC
Section 2, Gucho TBC
Section 3, Gucho TBC 
Mortar Section, Gunso Shitmee

Game 2 'Probe' Scenario

Aussie Forces
Core Platoon (less four casualties)
2 pounder ATG
Medic

Jap Forces
Core Platoon (less two casualties)
Ha Go Type 95 Tank
Pre-Game Barrage

The Battlefield

Lots of jungle here, beside the main road heading south there are two areas of open ground and one area of wild bamboo...

The AAR

Flushed with success the Japanese continued to push south in their conquest of Malaya! Their lead troops again encountered the troublesome Australians, they planned to probe their defences astride the main road to Jahor Bahru and then sweep them away! The Japanese CO, Rikugun Mitsubishi decided to refuse his left and push forward to the West of the road with his entire force, his opposite Second Lieutenant Witherspoon again hoped to carry out a fighting withdrawal! 
The Japs were quick to deploy almost their entire force and began to advance under the cover of a preparatory barrage which Mitsubishi hoped this would hamper the Australian movements! Almost immediately this plan went awry, despite the heavy Jap barrage the Aussies were quick to react and Platoon Sergeant Griswald quickly set up a defensive line with McCarthy and Thompson's sections supported by the Platoon mortar team! 
Mitsubishi was not deterred by these damned Australians quickly blocking his advance and he urged his men forward hoping their offensive spirit and aggressive nature would overwhelm them! His attack was also supported by Gunso Tomato in his Ha Go Type 95 tank which moved flat southward along the main road covering the left flank! Still Mitsubishi's plans were confounded, Witherspoon had Sergeant Peters set up his 2-pounder to cover the road and the Ha Go was a target Peters couldn't resist! The gunners tracked the tank as it advanced and let a round fly, moments later there followed a tremendous explosion! The anti tank gun's projectile ripped into the Ha Go and it exploded! Peters and his gun crew cheered! One round one tank!
Rikugun Mitsubishi sighed at seeing this, he was dismayed to see his armour support taken out of action but undeterred he pressed his men forward!
The lead Jap section now came under defensive fire from the Aussies but pushed on with their mortars in support. The Aussies CO, Witherspoon was confident and at this point decided to change plans, he would not withdraw but hold the Jap advance and counterattack to the east of the main road! He ordered Bruce Ingliss's section to deploy opposite the Jap left and threaten their deployment zone (read JOP!) located there.
The battle was in the balance! Then the scales tipped!
The Japs supporting barrage ended and their two sections who were just about to crash into the Aussie positions paused momentarily as effective Aussie fire checked their forward momentum. The Jap Platoon's mortar section was also distracted at this point as they were required to lay down smoke to cover the attack's lead unit! This gave the Aussies time to regain their composure whilst to the west of the road Ingliss's men rushed toward the Jap's exposed left flank!
Resuming their advance the Japanese closed in to contact the Aussies despite withering defensive fire and a deadly melee ensued, just what Witherspoon did not want to happen! But the Jap attack was over almost as soon as it started! Despite their own belief in their superiority both the Japanese sections were decimated, one NCO was dead and over 80% of the attackers had become casualties or were dispersed! The Japs morale plunged!
Mitsubishi cursed under his breath he no longer had the strength to advance so he reluctantly ordered his Platoon to regroup! The Japanese 'withdrew' to their start lines, the Platoon's mortar section could be considered its only effective fighting element every other section had been hammered, just over twenty men including Mitsubishi himself remained out of 55 who had advanced! Witherspoon's Australians had effectively repulsed the attackers, they had scored a decisive victory over the so far unstoppable Japanese, the price of this success was high though two of his sections had been reduced to half strength and and Sergeant Thompson had been wounded. A total of nine Diggers were dead, wounded or missing! It was time to consolidate their position and put the billy on!

Some pictures of the Action

Game on!
The Japanese deploy! Their initial roll allowed three sections and their 2IC to hit the ground running!

Gunso Tomato was ordered to cover the left flank of the Japanese attack, he motored down the main road in his Ha Go Type 95!

Sergeant Peters under direct orders from Witherspoon was to del with any Japanese armour, it took only a single shot to take out the lone tank that dared to advance!

Section one of the Japanese Platoon pushed forward to pin the Australians so the other sections could attack them from their flanks! They came under concentrated fire for their trouble!

Overall view of the Japanese advance to the west of the main road...

Sergeant Thompson's section deployed along the edge of an opening in the jungle to await their foes!

Sergeant McCarthy's section was on the far left of the Australian line, in the foreground of the picture you can see Senior Sergeant Barry 'Bazza' Griswald, his leadership was crucial in the game!

With their charging sections stalled by low movement rolls the mortar section helps the beleaguered first section which was taking concentrated fire from two Australian sections laying down some smoke. The Aussies used the 'five rounds rapid' option repeatedly and the bonus dice were very valuable!

The Japanese third section attempting to move right around the Australians left flank, McCarthy's section can be seen in the background to the right of the smoke...

The remains of Gunso Tomato's Ha Go Type 95 tank! Just to its left is a Japanese JOP that thanks to this loss was now exposed, the Australians recognised this and deployed Ingliss's section to capture it, the Japanese responded and used their available CoC Die to move it!

Sergeant Ingliss attempt at a coup de main fell into thin air, these Japanese were cunning!

Japanese to the left Australians to the right the battle was in the balance at this point!

The Australians of McCarthy's and Thompson's sections prepare to receive the Japanese attack, due to poor movement rolls both the attacking Japanese sections that could have reached the Australians hardly moved, in fact the one toward the top right of this picture advanced just three inches which was enough for them to move out of the Jungle and stop in the open right in front of a full strength Australian section...uh oh!

The grand Japanese charge was launched...


The aftermath, McCarthy's section repelled the Japanese third section, there were 4 Aussie casualties to 9 Japanese!

The Japanese third section after being defeated in close combat retreated 18 inches and doubled their shock! The pink disk indicates a wound, the red disk indicted the Section is Broken and the pile of blue disks represents their shock! It was commented that they could see Singapore if they stood on their heap of shock counters!!!!

The tabletop of the night!

Result Stuff
An Australian Victory!
Again the game ran smoothly, we had to look up the resupply and smoke rules this time though! We had time after the game to complete the Sharp End 'end of game' processes on the night!
A loss to the Japanese this early in the Campaign was a surprise, their dice rolling wasn't that bad except in the actual melees. So even though it may look bad for the Japanese at this point as this battle turned into a bloodbath perhaps its not, they inflicted heavy losses on the man power limited Australians and just called up a fresh Platoon for the next game...for the Australians the losses looked justifiable but were they? It was an expensive victory as next game their Platoon is going to be considerably weaker starting 9 figures down virtually a whole section!
This is our first CoC Campaign and it is already looking very interesting. Next game will be in two or three sessions time.

Aussie after Game Stuff
Section 1: 4 Casualties
Section 3: Sergeant Wounded 5 Casualties
Total 9 Casualties
2 return next Game
2 return next Game from Game 1
3 miss next Game
4 Killed
Total reduction 9 figures for the next game!
For Campaign resolution:
CO Opinion Running Total = +3
+2 for Victory Roll
OR Opinion Running Total = +1
+1 for Fewer losses than Japanese

Jap after Game Stuff
Sekushon 1: Gucho Wounded 6 Casualties
Sekushon 2: Gucho Killed total 13 Casualties
Sekushon 3: Gucho Wounded 9 Casualties
Total 28 Casualties!
New Platoon selected for next game, Rikugun Mitsubishi takes Command by Imperial Decree!
For Campaign resolution:
CO Opinion Running Total = 0
-2 for Defeat Roll
OR Opinion = 0
New Unit!